Floor Leveling Explained: Why Subfloor Prep Makes Budget Flooring Feel Premium
The short answer
Floor leveling is the process of correcting dips, humps, and slopes in your subfloor before new flooring goes down, usually keeping variation within roughly 3mm over a 3 metre span. It is the single biggest reason a budget vinyl plank or laminate can feel solid and premium underfoot, while skipping it can make even expensive flooring squeak, flex, or fail early. Cost depends on how far out of level the subfloor is and the method used.
What is floor leveling and why does it matter?
Floor leveling means correcting an uneven subfloor so the surface is flat and within tolerance before any new flooring is installed. Most click-together products like vinyl plank and laminate are designed to lock together over a flat plane. When the subfloor dips or humps, the planks bridge the gap and the locking joints carry stress they were never meant to hold.
Here is the part most homeowners underestimate: prep is what makes a budget floor feel premium. A mid-range plank installed over a properly leveled subfloor feels quiet, solid, and seamless. The same plank over a wavy subfloor will tick, click, and flex no matter how much you spent on the boards. The flooring you can see is only as good as the surface you cannot.
- Prevents hollow spots, bounce, and squeaks
- Protects the click-lock joints from early failure
- Keeps transitions and sightlines clean
- Helps your manufacturer warranty stay valid (most require a flat substrate)
How do I know if my subfloor needs leveling?
Look for these signs before you commit to new flooring. If you spot any of them, plan for leveling in the quote rather than discovering it mid-install.
- A marble or ball rolls on its own across the floor
- Visible dips, sags, or high spots when you sight along the floor
- Gaps under the baseboard that change from one end of a wall to the other
- Existing flooring that bounces, creaks, or has separated at the seams
- Old tile, patches, or leveling compound from a previous renovation
- A concrete slab in a condo or basement with surface pits or trowel ridges
A simple field check is laying a long straightedge (a 2 metre level works) across the floor in several directions and measuring the gap underneath. Many flooring manufacturers want the subfloor flat to within about 3mm over 3 metres. Anything beyond that usually needs attention.
What does the floor leveling process involve, step by step?
Every subfloor is different, but a typical job follows the same sequence.
- Strip and inspect. Remove old flooring and underlayment so the bare subfloor is visible. This is when hidden problems (water damage, loose plywood, old adhesive) show up.
- Map the floor. Use a straightedge and a level to mark the high and low points. This tells us whether we are grinding down, filling in, or both.
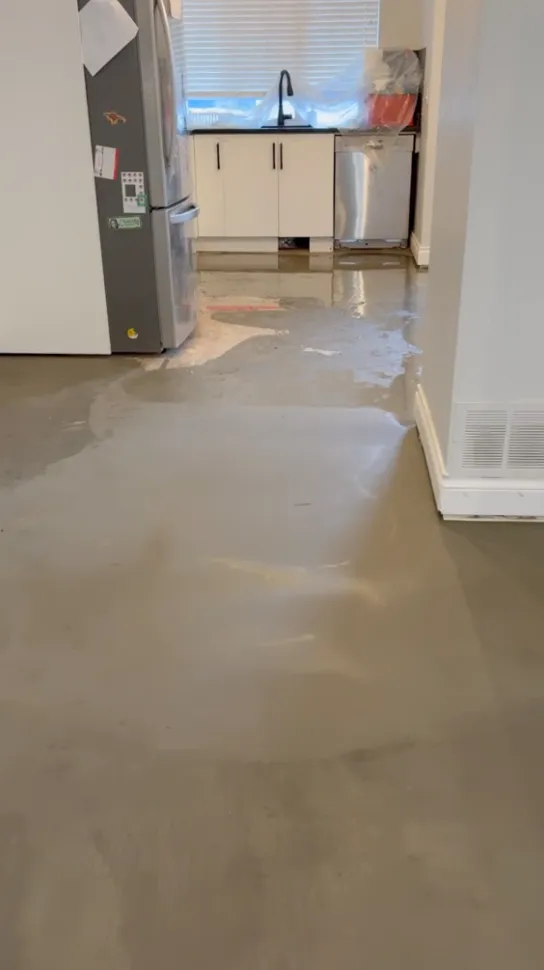
- Address moisture. On concrete slabs, we check for moisture, which is common in Lower Mainland basements and ground-floor condos. Leveling over a damp slab traps problems under your new flooring.
- Prep and prime. Clean the surface and apply a primer so the leveling material bonds properly.
- Level. Grind or sand down high spots, then fill low spots. For larger areas, a self-leveling compound is poured and spread to flow into a flat plane.
- Cure and verify. Let the material cure, then re-check with the straightedge before any flooring goes down.
Getting this right is what separates a floor that looks good for a season from one that performs for years, whether you are putting down vinyl plank flooring or laminate flooring.
What drives the cost of floor leveling?
Leveling is priced separately from your flooring because the amount of work varies enormously from one home to the next. The main cost drivers are:
| Factor | Lower cost | Higher cost |
|---|---|---|
| Severity | Minor dips, small patches | Major slope across whole room |
| Method | Spot patching, grinding | Full self-leveling pour |
| Subfloor type | Sound plywood | Cracked or pitted concrete |
| Area size | One room | Whole floor or whole home |
| Access | Open, empty space | Tight condo, furniture, stairs |
| Moisture | Dry, ready slab | Slab needing mitigation |
Because of these variables, leveling is usually quoted after we see the bare subfloor. We do not use hidden fees, so if leveling is needed it goes in the estimate before work starts.
Does the type of flooring change how much leveling I need?
Yes. Thinner and more rigid products are less forgiving, so they demand a flatter subfloor.
- Vinyl plank and laminate float over the subfloor and telegraph every imperfection, so they need the flattest base.
- Engineered hardwood is more stable than solid wood but still wants a flat, dry substrate, especially when glued down. See our engineered hardwood page for more.
- Solid hardwood nailed to a plywood subfloor can tolerate slightly more variation, but flatness still matters for a quiet, lasting floor. Learn more on our hardwood flooring page.
Why hire a contractor instead of leveling it yourself?
Self-leveling compound is unforgiving. It cures fast, has to be mixed and poured at the right consistency, and once it flows the wrong way you are grinding it back out. A flat-looking pour can still be out of tolerance in spots you cannot see by eye. Professional leveling means the right method for your subfloor, proper moisture checks, and a verified flat plane your warranty depends on.
We serve homes and condos across the Lower Mainland, including flooring installation in Vancouver, Burnaby, and Coquitlam. With 15+ years of experience, an A+ BBB rating, and a 2-year labour warranty, we treat prep as part of the job, not an afterthought. Call us at 604-901-6002 to book an assessment.
Related services
Ready to move ahead? See how we install across Greater Vancouver:
Where we work
We serve homeowners and stratas across the Lower Mainland, including:
Almimar Reno flooring team
Flooring installation crew, Greater Vancouver
WorkSafeBC-covered, fully insured flooring installer
Last reviewed and updated .
Frequently asked questions
How level does a subfloor need to be for vinyl plank or laminate?
Most manufacturers want the subfloor flat to within roughly 3mm over a 3 metre span. Vinyl plank and laminate float over the surface and telegraph dips and humps, so they are among the least forgiving products and benefit most from proper leveling.
Can you level a floor without removing the old flooring?
Usually no. We strip the old flooring first so we can inspect the bare subfloor, find hidden damage or moisture, and bond the leveling material properly. Leveling over old flooring traps problems underneath your new floor.
Does my concrete condo slab need leveling and moisture testing?
Often yes. Lower Mainland slabs in basements and ground-floor condos can hold moisture, and slabs frequently have pits or trowel ridges. We check moisture and flatness before any flooring goes down, since installing over a damp or uneven slab leads to early failure.
How much does floor leveling cost?
It is quoted separately because the work varies with severity, method, subfloor type, and area size. We assess the bare subfloor and include any leveling in the written estimate with no hidden fees.
Will skipping floor leveling void my flooring warranty?
It can. Many flooring manufacturers require a flat substrate within a stated tolerance, and an uneven subfloor that causes joint failure or hollow spots may not be covered. Proper leveling helps keep your warranty intact.
Ready for new floors?
Book your free in-home quote today.
We reply instantly, or within 10 minutes. No hidden fees.